
Create your first launcher
A launcher is the desktop application your players will use to install, update, and start your games. This means:- You do not need to choose between multiple workspaces.
- You cannot create multiple launchers inside the same workspace.
- After creating your launcher, you will continue configuring that same launcher.
- If a launcher already exists, open it from the sidebar instead of creating another one.
1. Open the launcher creation option
Sign in to the Launcher Forge dashboard. In the left sidebar, find the LAUNCHERS section and select New launcher.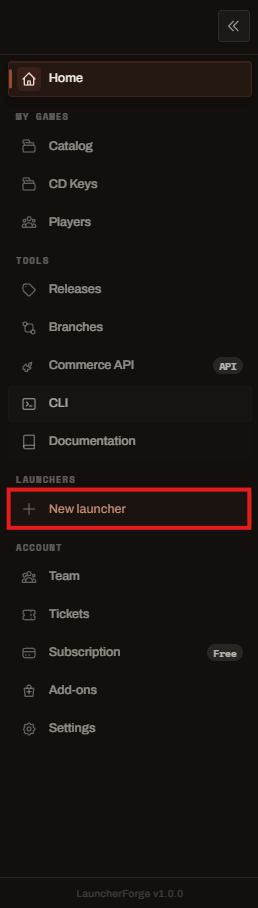
Select New launcher from the left sidebar
The New launcher option is only used for the initial launcher creation. After the launcher exists, its name appears below this option in the sidebar.
2. Confirm the creation
Launcher Forge displays a confirmation window before creating the launcher. Select Yes, create launcher to continue.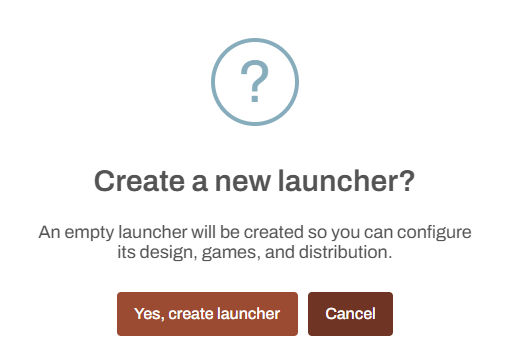
Confirm the creation of the launcher
3. Open the new launcher
After confirming, Launcher Forge creates the launcher and opens its management page. The new launcher also appears in the left sidebar. Select its name whenever you need to return to its configuration.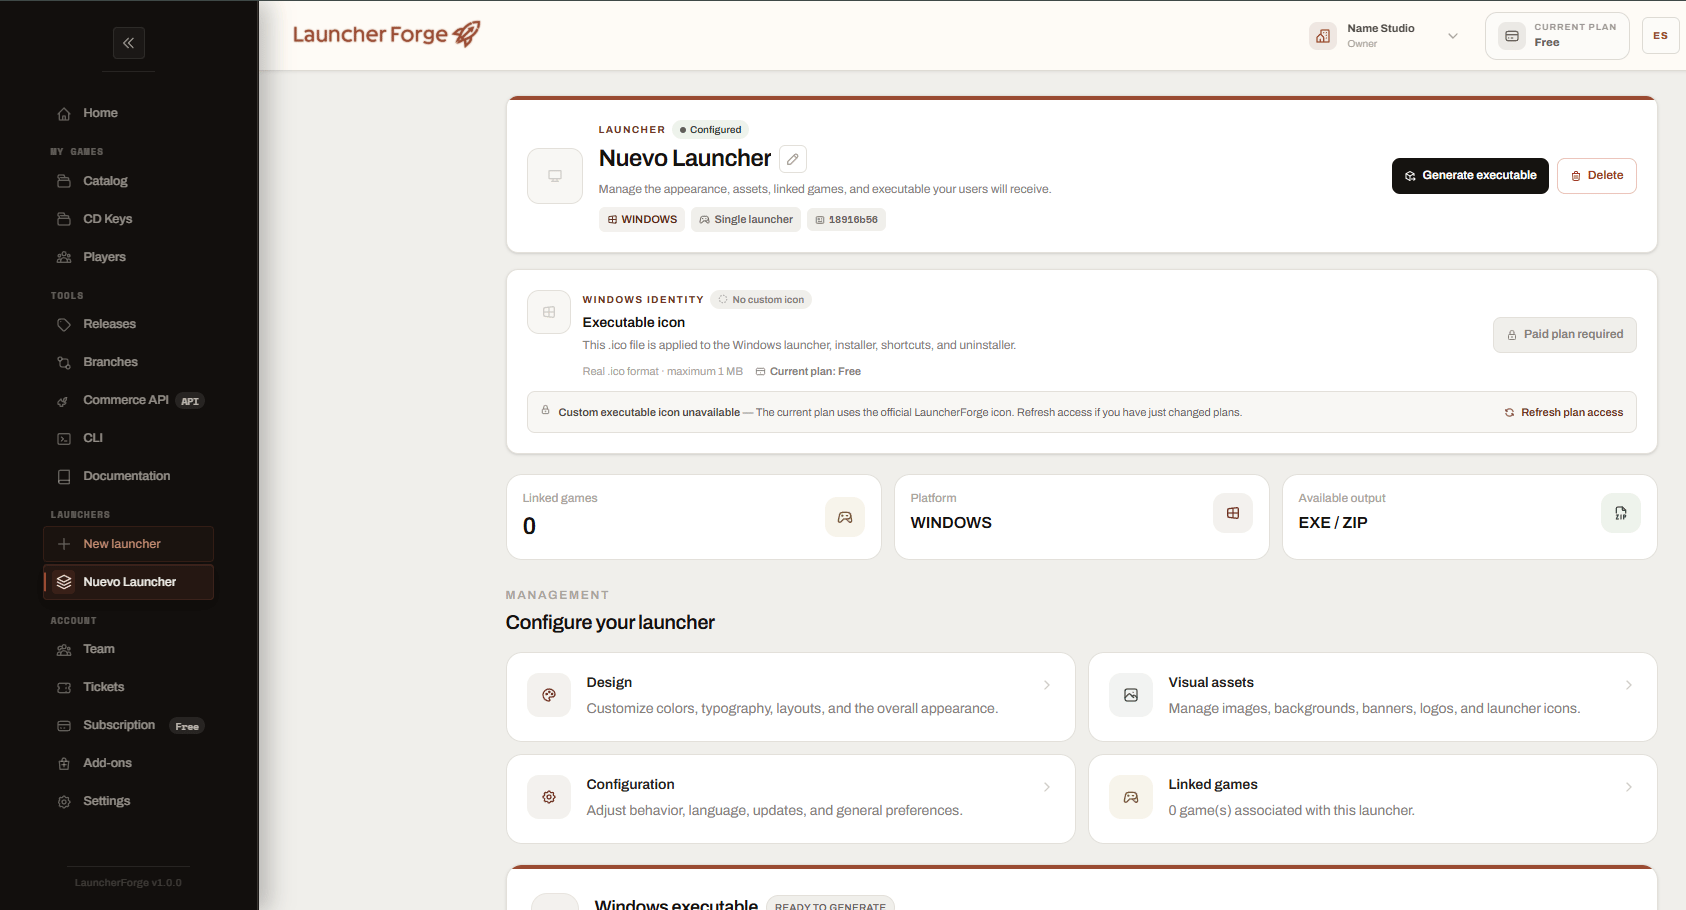
The newly created launcher management page
What appears on this page?
The launcher management page provides the main configuration areas.Design
Configure colors, typography, layouts, templates, and the general appearance of the launcher.
Visual assets
Manage backgrounds, banners, logos, launcher images, and visual resources.
Configuration
Configure language, behavior, updates, and general launcher preferences.
Linked games
Connect the game that will be displayed and distributed through this launcher.
Launcher name
The launcher is initially created with a default name. To change it, select the edit icon next to the launcher name and enter the final name you want players and team members to see. Use a clear name related to your game, studio, or product.Executable icon
Launcher Forge also shows the Windows executable icon configuration. On plans that do not include a custom icon, the generated launcher uses the official Launcher Forge icon.The available launcher customization options depend on the active workspace plan.
Linked games
A newly created launcher does not have a game assigned yet. The Linked games value initially shows0. You must create or select a game and associate it with this launcher before distributing it to players.
Do not generate the final launcher executable until you have reviewed its configuration and linked the correct game.
Generate the executable
The Generate executable button creates the launcher build that can be distributed to users. Before generating it, verify:- The launcher has the correct name.
- Its design and visual assets are configured.
- Its language and behavior are correct.
- The game is linked.
- The game executable and releases are configured.
- The launcher preview has been reviewed.
What should you configure next?
Follow this order to avoid missing important settings:1
Rename the launcher
Replace the default name with the final launcher name.
2
Configure the design
Select the template and adjust the visual appearance.
3
Add visual assets
Upload the logo, backgrounds, banners, and other supported images.
4
Configure launcher behavior
Review language, updates, and general preferences.
5
Create and link your game
Register the game that will be distributed through the launcher.
6
Review and generate
Confirm the configuration before generating the executable.
Your launcher has been created successfully. You can now configure it and connect your first game.