
Create your account
A Launcher Forge developer account gives you access to the dashboard, where you can create launchers, register games, publish builds, manage team members, and review workspace usage. You can create your account using an external provider or by completing the manual registration form.Register with Google or GitHub
Launcher Forge supports registration through the following external providers:Continue with Google
Create your Launcher Forge account using your Google account.
Continue with GitHub
Create your Launcher Forge account using your GitHub account.
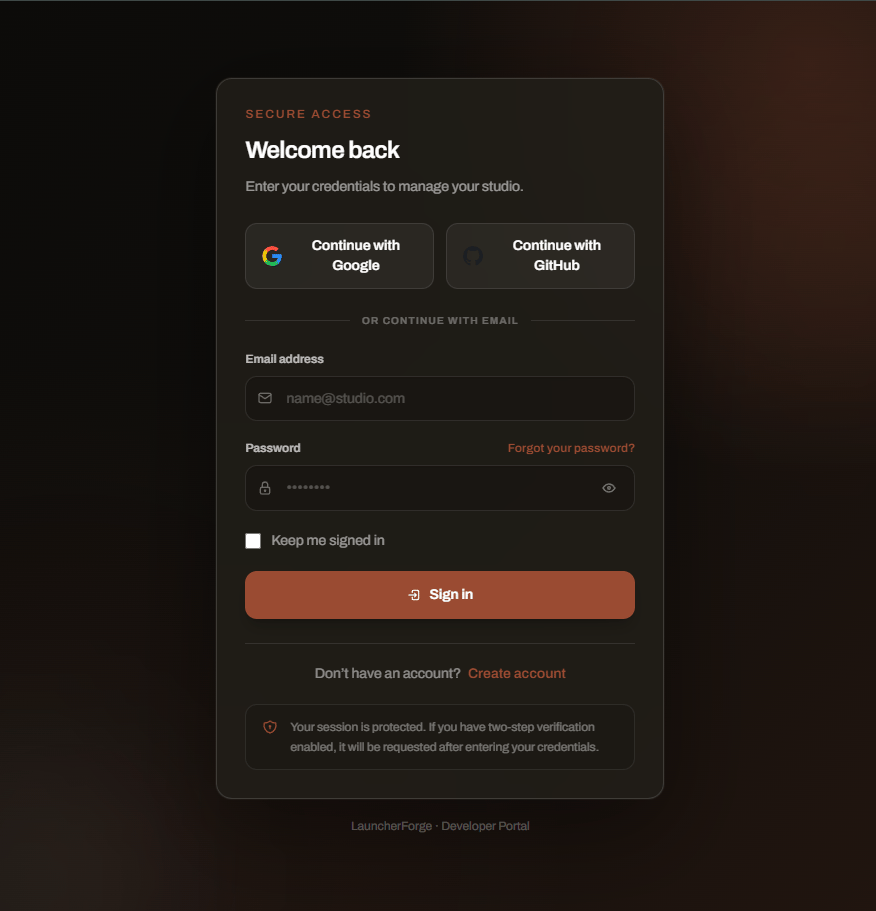
Register using Google or GitHub
Accounts created through Google or GitHub may need to create a Launcher Forge password later when using tools that require email and password authentication, such as the interactive CLI.
Register manually
You can also create an account using the standard registration form. Enter the information requested by Launcher Forge, including your email address and password.1
Open the registration form
Select the option to create a new Launcher Forge account.
2
Enter your information
Complete the required fields in the registration form.
3
Create the account
Review the information and submit the form.
4
Verify your email
Complete email verification when required before accessing protected features.
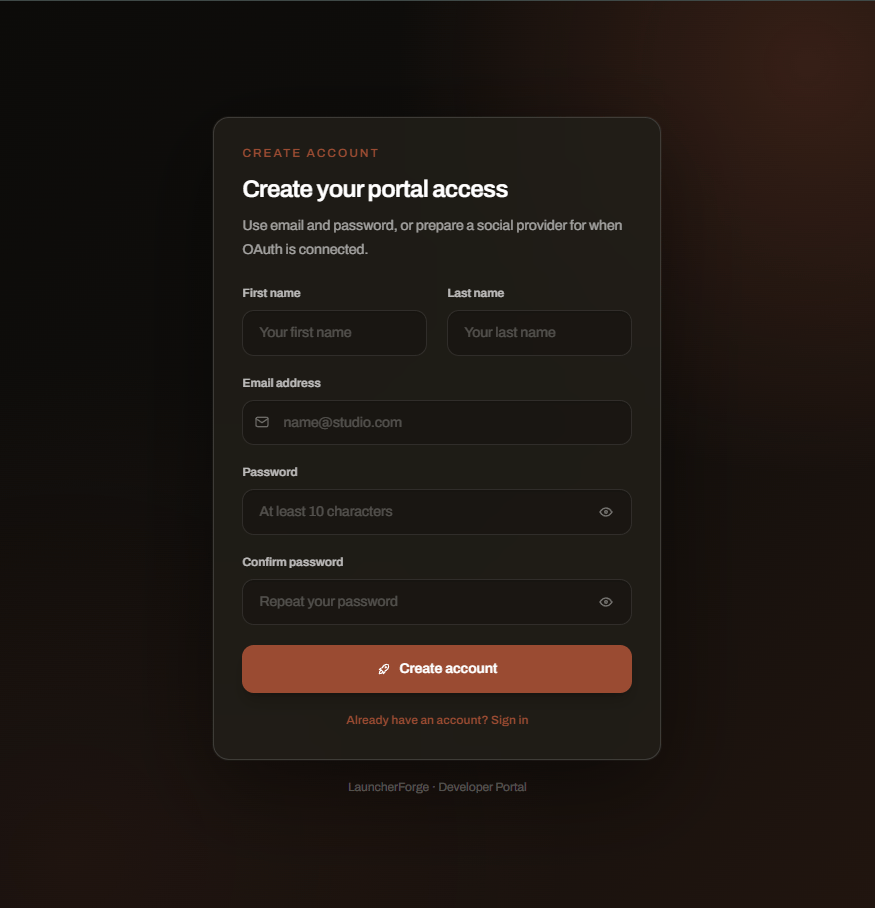
Create an account using the manual registration form
Sign in
After creating your account, sign in to access the Launcher Forge dashboard. Use the same authentication method you selected during registration:- Google.
- GitHub.
- Email and password.
Create or join a workspace
After registration, your developer account must be associated with a workspace. A workspace is the main container for:- Launchers.
- Games.
- Team members.
- Roles and permissions.
- Subscription and billing.
- Storage.
- Bandwidth.
- Workspace usage.
- Create a workspace
- Join a workspace
Create a new workspace when you are starting your own project, studio, or organization.When you create the workspace, you become its initial owner.The workspace owner can manage:
- Workspace settings.
- Launchers and games.
- Team invitations.
- Roles and permissions.
- Subscription and billing.
- Storage and bandwidth usage.
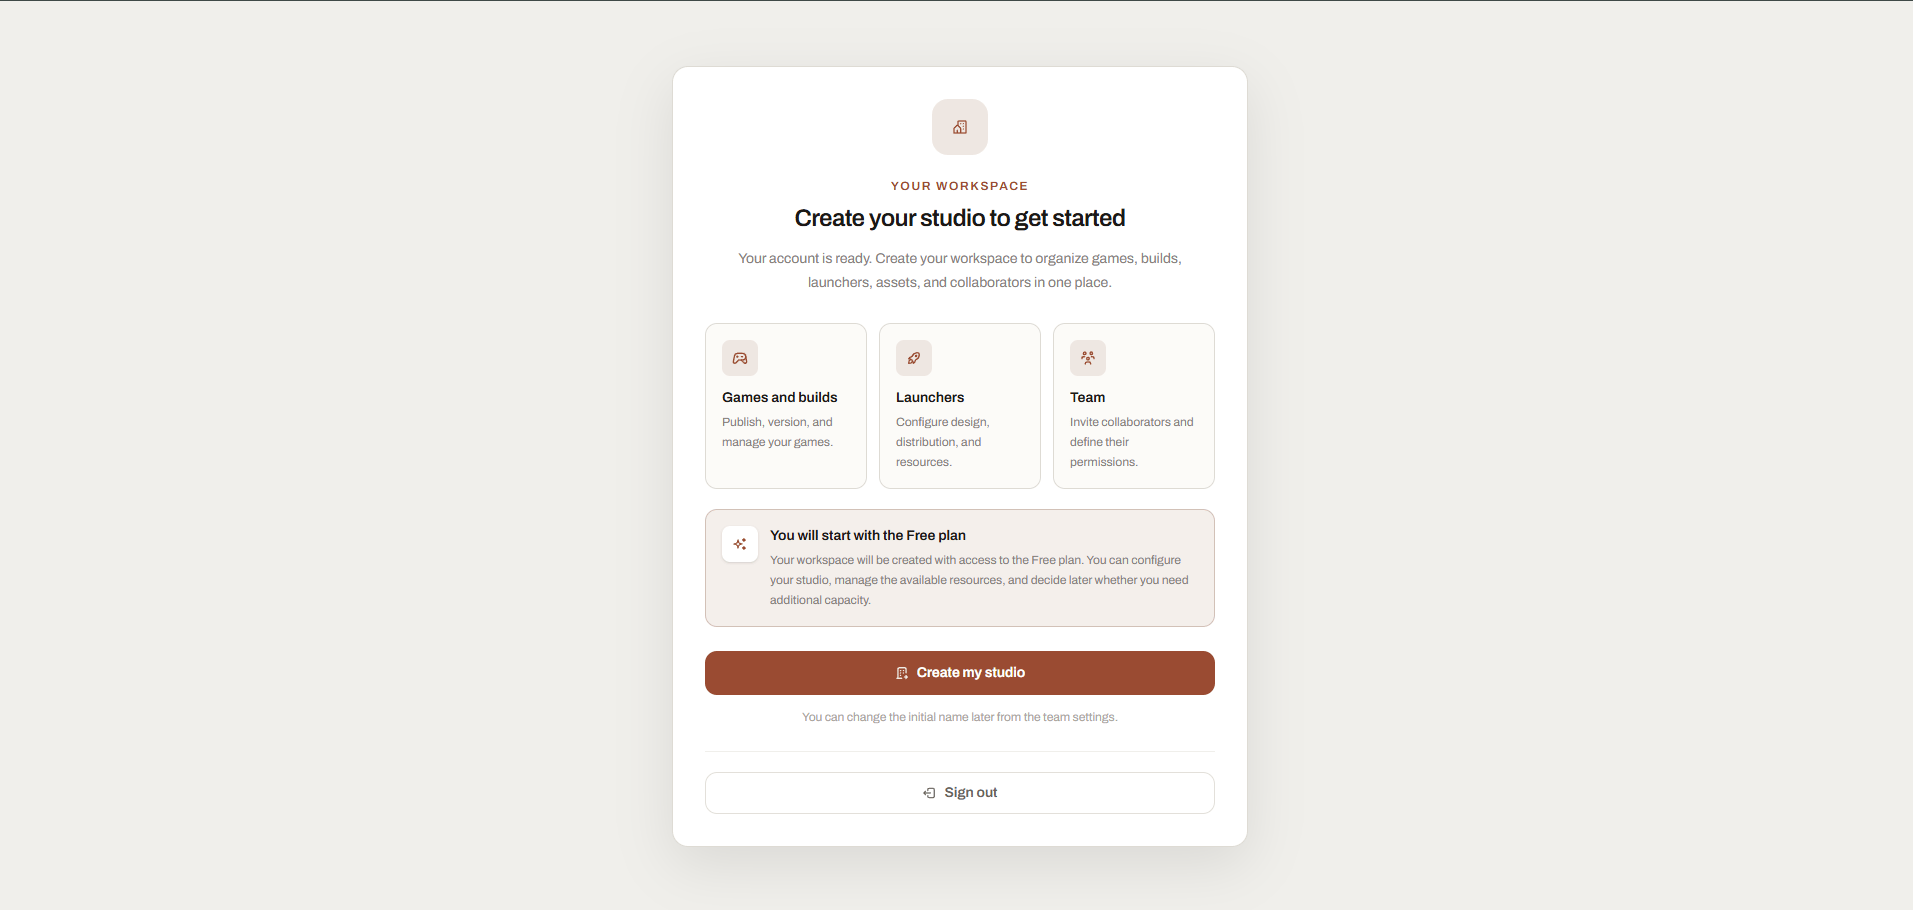
Create a new workspace or join an existing workspace
A developer account can create its own workspace or join another workspace through an invitation. Access to each workspace depends on the assigned role, permissions, and active plan.